Blank Books: 3 Easy-to-Make Books That Will Encourage Writing
Blank books provide a great way to encourage kids to write. Here are directions to make 3 different versions of blank books for your kids.
I love using blank books. Kids usually think that it is much more exciting to write or draw in a book than on a lonely piece of paper. Making blank books easily accessible to young kids is a great way to get them excited about writing.

Once you develop a system and get into a groove, assembling a pile of blank books for your preschoolers is an easy project that can be done while binge-watching TV #hellonetflix. Here are 3 different versions of blank books that you can easily make for your kids. I have also included a little video tutorial for each of the methods below.
I have included a few affiliate links at the bottom of this post for your shopping convenience. If you purchase something from a link, there will be no additional cost to you, but a small portion of your purchase will be used towards the cost of maintaining this website.
#1 The Mini Blank Book
When I volunteered in my son’s kindergarten class, his teacher often asked me to assemble a bunch of these mini-books. She always had a stack of the empty books in her writing center. I soon made a stack to use at home and we used them in our preschool writing center as well.
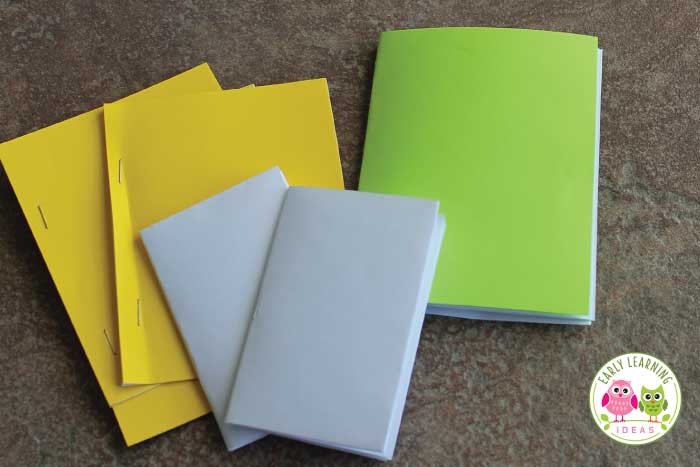
I used a paper cutter to cut a bunch of letter-sized paper in half. You don’t have to use colored paper for the book cover, but I like to have a pretty cover.
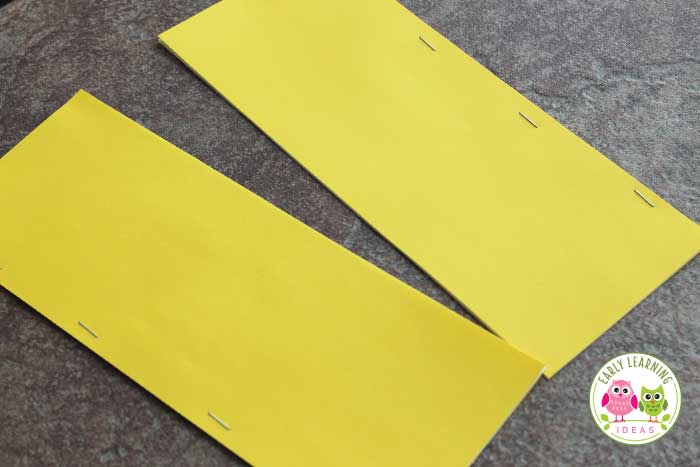
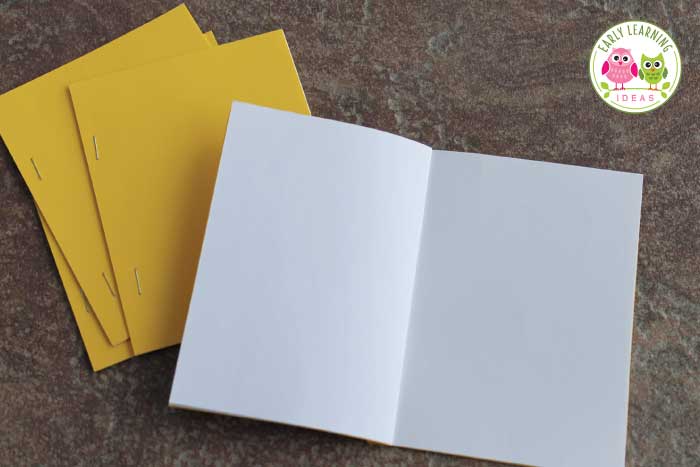
After cutting the paper, I grabbed one piece of color paper and two or three pieces of white paper. I fold them in half and staple them on the crease.
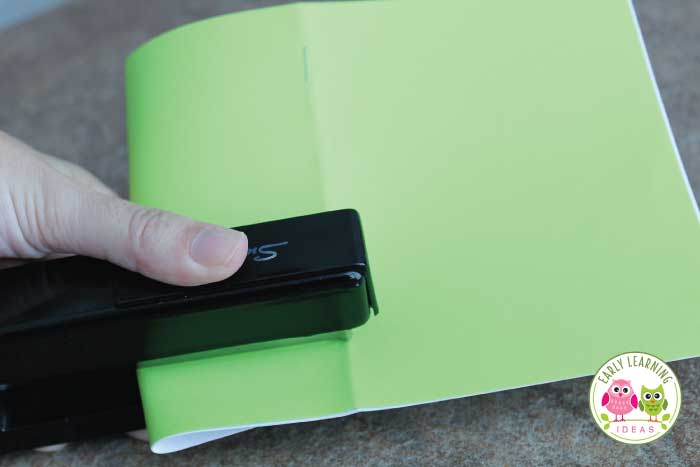
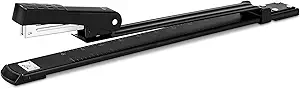
Now, these books are easiest to make if you happen to have a long-arm stapler. But, I have also made hundreds of these with a standard stapler. All you have to do is roll the book pages a bit so that they fit under the stapler.
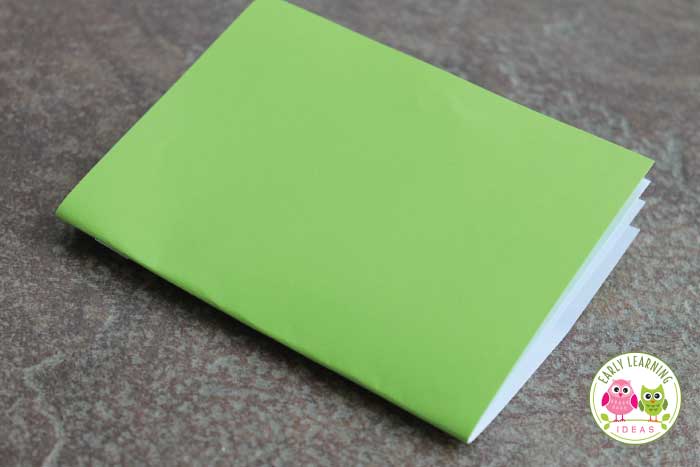
When you are done stapling, you can unroll and smooth out any little wrinkles.
#2 The Little Blank Book
If you have used any of the little books that I have created for my TPT store, you will recognize this bookmaking method. Like the books above, this method will also result in a quarter-page-sized book….and you might find that it is a little easier to staple.
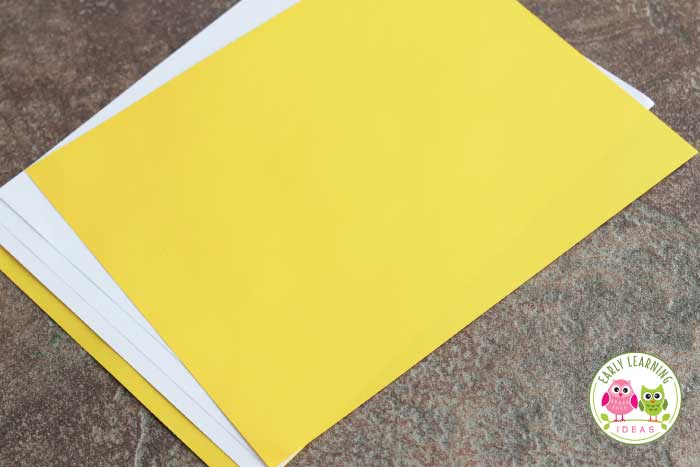
I sandwich 3 – 4 full sheets of white paper between 2 color sheets of paper. You will be using a paper cutter to cut these books, so you need to make sure to only use the number of pages that your cutter can handle.
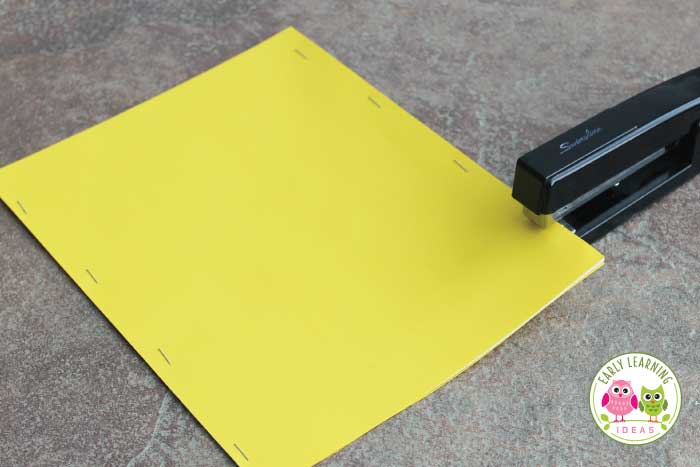
After making my little stack of papers neat, I staple the sheets 4 times along each long edge as shown. That’s a total of 8 staples.
After making a bunch of these stapled sheets, I use a paper cutter to cut the sheets in half as shown.
Then I cut the halves in half to create 4 little books. Tada!
#3 The Tiny Blank Book
This final method creates a much smaller book, but it only uses one sheet of paper per book. I had made these little books before, but it wasn’t until I made them in a workshop that I discovered a really easy way to make them. Here is the easy method.
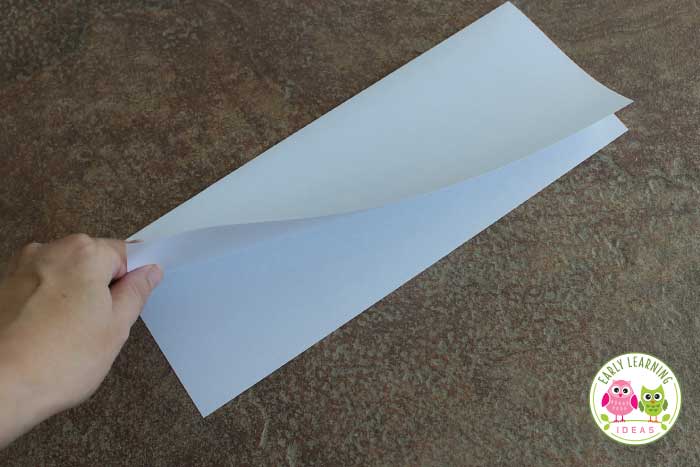
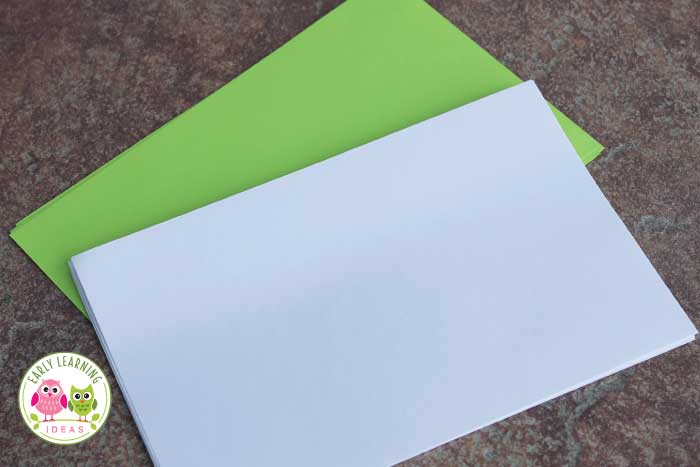
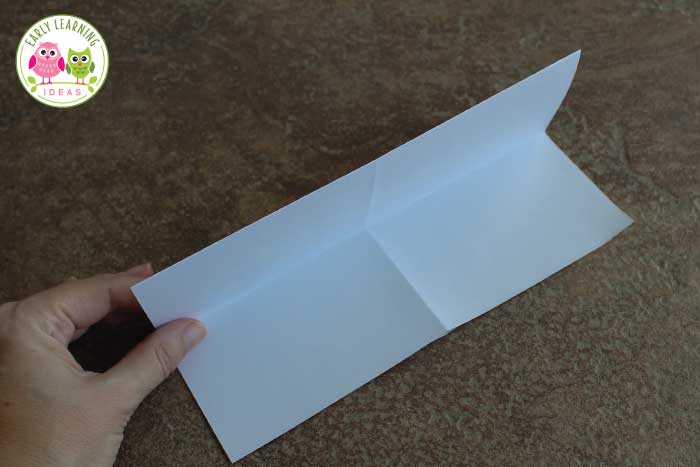
Fold a piece of paper in half with long sides together as shown. (a hotdog fold)
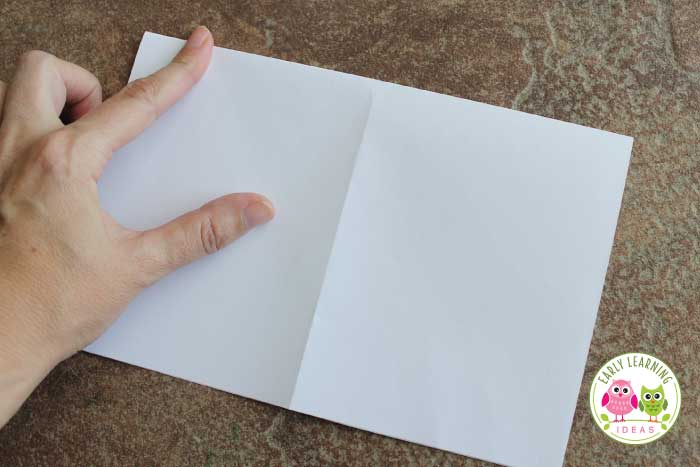
Open the paper back up, then fold in half with the short sides together as shown (a hamburger fold)
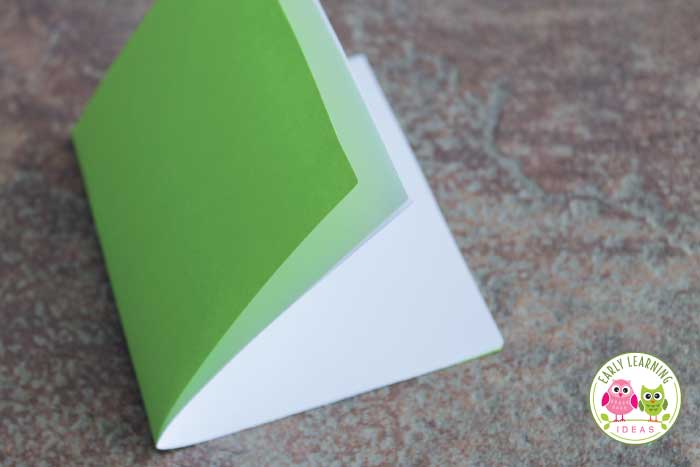
Take that hamburger and fold the long sides together to make something that looks like a park bench. The folded edge is the back of the park bench.
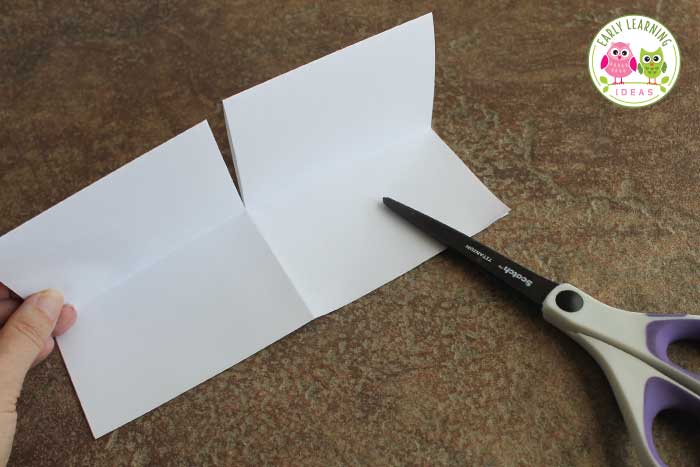
Use scissors to cut the crease in the back of the park bench only. Do not cut the seat of the park bench.
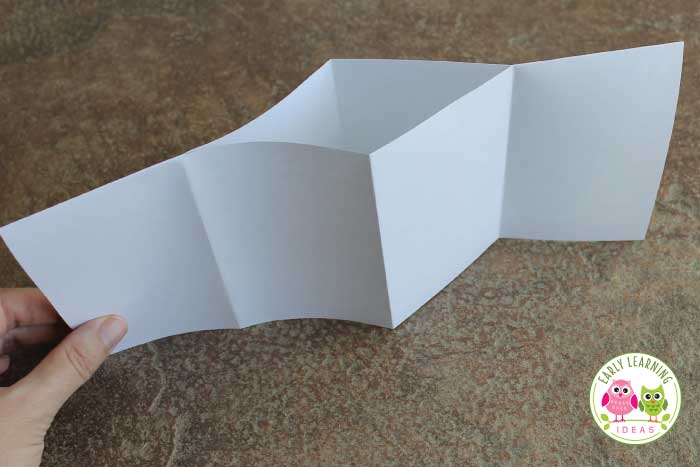
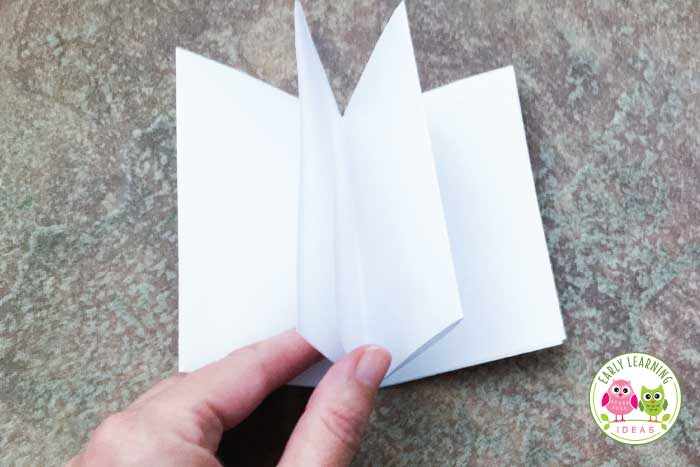
Now, open the paper back up and fold it in half again with long sides together (hotdog fold). You will see an opening in the center as shown.
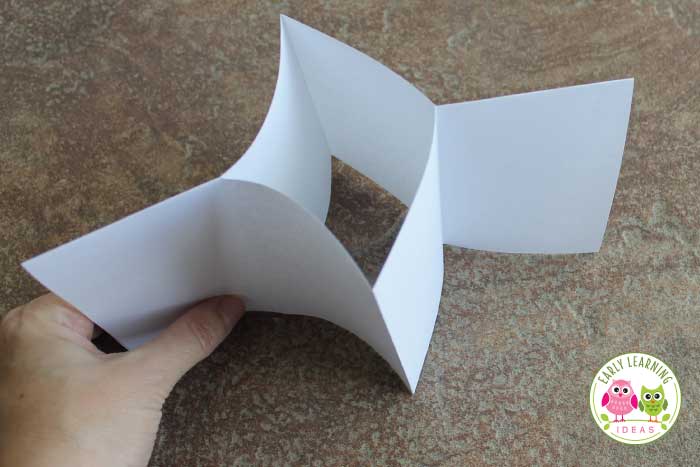
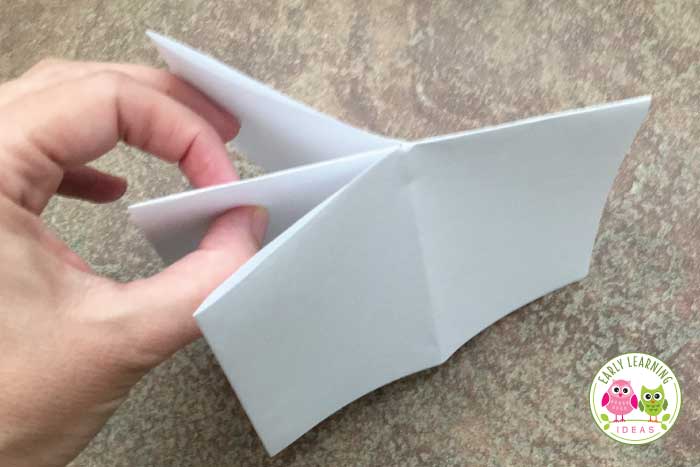
Squeeze the sides together to squish that opening together to form the pages of the book. Then fold the whole book together.
Because kids sometimes like to unfold this book, I like to add a staple to the center to hold them together.
Using Blank Books
Now that you have made a bunch of blank books, where can you use them? You can use them all over the place to create an invitation to write. Here are just a few ideas:
- Writing Center – This is the most obvious place to house some blank books. Kids can create books and can practice writing letters or thematic words.
- Science Center – Kids can make predictions or record observations.
- Dramatic Play Area – Kids can use them to make shopping lists, menus, scrapbooks, phone books, etc.
- Block Center – Place blank books in your block center so that kids can make a plan or blue print….or they can make a drawing of their structure.
- Math Center – Kids can practice representing numbers with drawings or stickers and they can practice writing numerals.
- Travel Journal
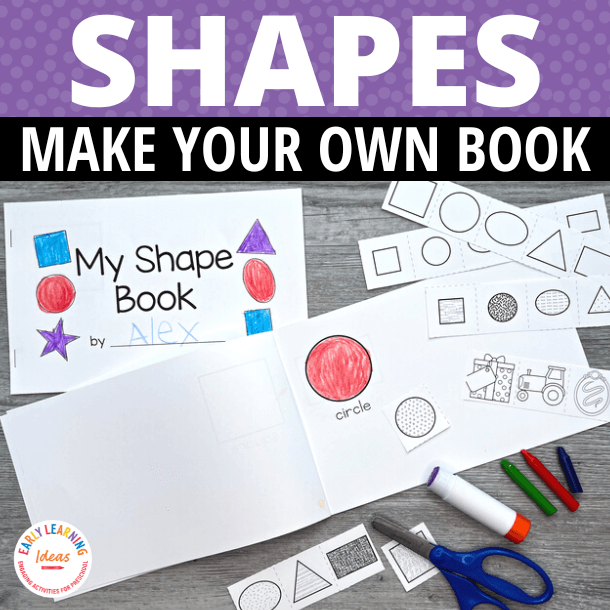
Litte Books in the Store
Interested in some printable little books? Click on the images below to check out the resources in my store.


Below are some items from Amazon that can be used for the activities mentioned in this article. The links below are affiliate links. If you happen to purchase something from a link, there will be no additional cost to you, but a small portion of your purchase will be used towards the cost of maintaining this website.