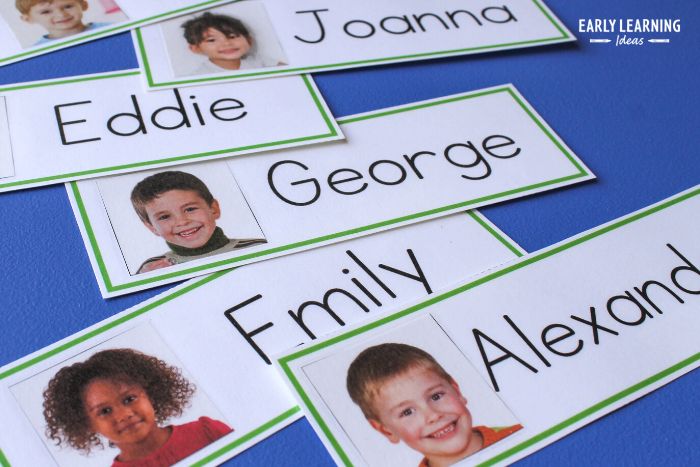
Free Editable Name Cards for Preschool and Kindergarten (With Photos!)
Getting ready for back to school? These free editable name cards let you type in each child’s name, add their photo, and print…..done in a few minutes flat.
No design software, no cutting and pasting pictures by hand. Just open the file, fill in your class list, and you’re ready for day one.
The cards work as name tags, word wall cards, arrival cards, cubby labels, or writing center practice – one file, a dozen uses. Keep reading for the full how-to, or grab the free download using the form below.
I designed these cards after years of making name cards the hard way. When I first used them in the preschool classroom where I worked, I created each one in Adobe Illustrator. This worked fine because I was always there to customize them myself. But when I moved across the country, my co-workers didn’t have that software to make new cards as they prepped for the new school year.
So I built an editable file anyone can use with no design software required. All that you need to customize the name cards is Adobe Acrobat Reader…which is free… and a class list.
The name cards in this post are free – Just fill out the form towards the bottom of this post to get your editable file.
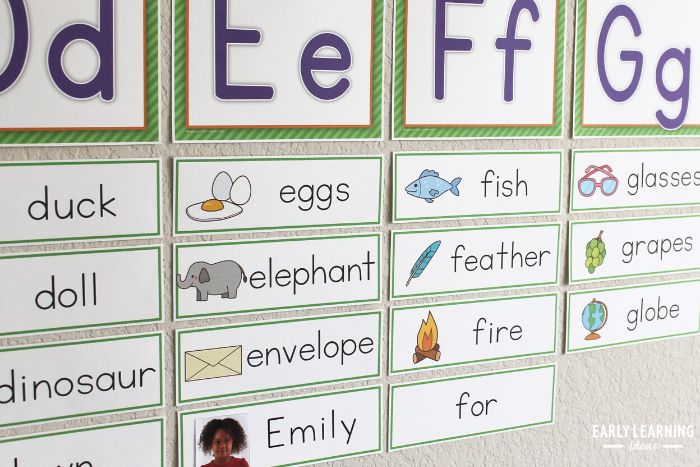
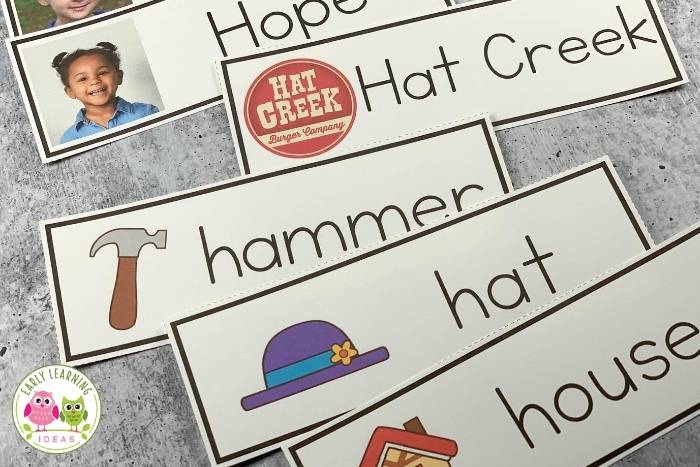
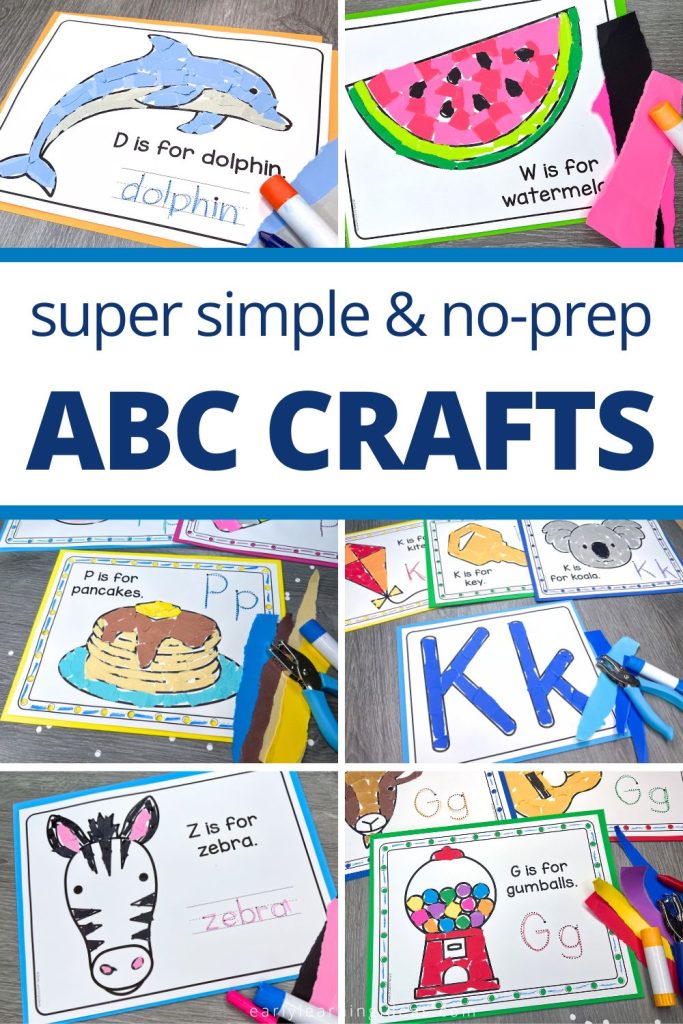
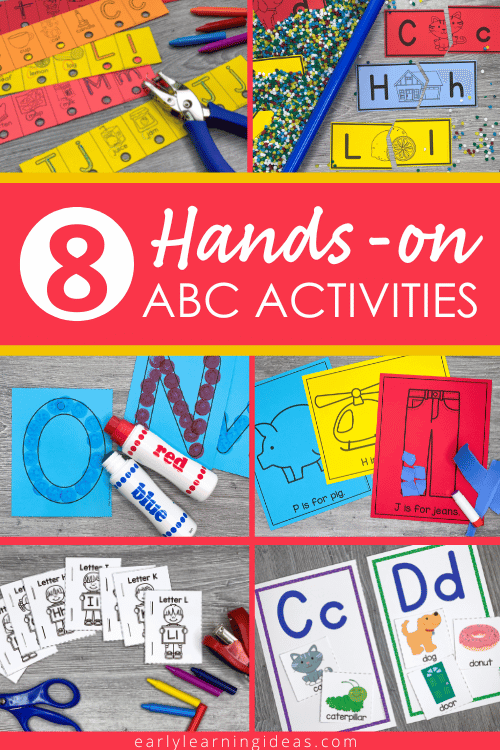
If you’d like the complete word wall pictured in this post, including letter headers and 78 illustrated picture word cards, that full set is part of the Big Bad ABC Bundle, your one-stop shop for teaching the alphabet all year long.
One purchase gets you the word wall set, plus letter formation cards, dot marker pages, alphabet crafts, worksheets, and more…everything you need for alphabet instruction from A-Z.

JUST Purchase the BIG BAD ABC BUNDLE
No Time to Read The Whole Article?
Here are the quick links to purchase the BIG BAD ABC BUNDLE – everything you need for alphabet instruction from A-Z.
Just want the word wall and name cards on their own? You can also grab that piece by itself:
JUST Purchase the Complete Set of Word Wall Cards
No Time to Read The Whole Article?
Here are the quick links to purchase the complete set of word wall cards today. (The set includes ALL name card options.)
How To Customize The Name Cards – Video Tutorial
I’m a visual person, and sometimes it’s easier for me to understand when I watch a video tutorial. I created this video to help you see how to customize the free templates.
How To Make Name Cards for Your Classroom
When I first designed and used name cards at my former preschool, I created them using Adobe Illustrator. This was great at the time because I was there to customize the cards with students’ names and pictures. But, when I moved across the country, my co-workers didn’t have the software to make more cards as they prepped for the beginning of the year.
That’s why I created an editable file for them. At the end of this article, you can fill out a form, and I will send the editable file directly to your inbox.
1. Download and Open the File In Adobe Acrobat Reader
Before making a set of name cards for your kids, you must take an important first step. After you download the file onto your computer, you will need to open it in the free Adobe Acrobat Reader program. Reader app on phones and tablets won’t support the editable fields. Having trouble? See the directions in the document or visit this page for troubleshooting tips.
2. Take Photos for Your Name Cards
Snap a square photo of each child (use your phone’s square camera setting, or crop after) and save them somewhere easy to access on your computer, like Dropbox.
3. Enter Names into the Class List Form
When you get the free name card document, you will see that, just like the complete word wall file, the name set includes three different color options (green, red, and black). Open the color of your choice and scroll to the Class List Form.

When you enter all the students’ names from your class list, they are instantly added to the name cards in the document. I like to capitalize the first letter of kids’ names and use lowercase letters for the rest. If you prefer, you can use all uppercase letters for your kids’ names.

After adding all the student names, browse through the document to make sure all the name cards look okay. Don’t worry; the blue rectangle on each card will not print.
4. Insert Student Pictures Into the Document
As you scroll through the document, you can add student pictures to each name card. Click on the blank space on the left side of a name card. This action will open a box on your screen. Click on “Browse.”
Locate a photograph in your computer files. When you select the image, it will be inserted into the form. It’s pretty cool…huh? Add images to the remaining word cards, then print, laminate, and cut them out.
Picture Problems? If you find that the pictures show up sideways, you can click the rotate button beside each image to rotate it 90 degrees. Continue clicking the button until you get the desired orientation.

Now, you are ready to cut them out and add them to your classroom word wall or use them for hands-on name activities.
How to Use the Printable Name Cards for Preschool and Kindergarten
The best thing about these free name cards is that there are so many different ways to use them in your early childhood classroom . Here are some fun ideas:
Name Recognition and Identification Activities
Trying to figure out how to teach your preschoolers to recognize their names? It’s easy with these name cards. In the beginning, kids may pick out their card from an array of other cards because they see their picture on it.
Be sure to encourage your kids to examine the letters on their cards closely. Pay special attention to the first letter of their name. Show them how to finger-trace the letter so that they will remember its shape. After they learn to recognize that first letter, move on to the subsequent letters. You can challenge them to find their name on a card without a picture. Can they do it?
With practice, they will be able to recognize their own name.
Arrival Activities
I like to use the cards for arrival activities. Spread out all of the cards on a table. When your students arrive for the day, they can select their card and add it to a pocket chart so that everyone can quickly see who is at school that day.
As kids get better at recognizing their names, you can make the arrival activity more challenging by making a name card without a picture, name tracing cards, or name writing worksheets.
Learn the Letters of their Names
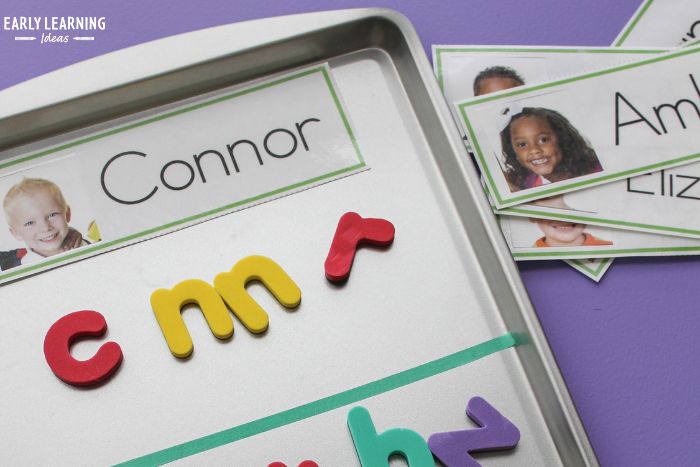
The cards are great for letter activities. Ask kids to point and name each letter in their name. Provide magnetic letters and ask them to spell their names with the magnets.
Name Tracing Activity
Begin by asking kids to finger-trace the printed name on their card. As their fine motor skills improve, they can also use a dry-erase marker to trace over the letters.
Name Writing Practice
Use as a small group activity or add to your writing centers. Kids will enjoy using the cards as they practice writing their names.
Letter Recognition and Letter Sounds Activities
As you introduce letters to your class, kids can go on a letter hunt. Give them laminated name cards with a dry-eraser marker. Ask them to find and circle a particular letter…or the letter of the week. Ask kids to say the letter sounds as they circle them.
Seating Cards
Place the name cards to assign seats to your kids during circle time or table time.
Name Tags or Cubby Labels
Attach the custom name cards to your kids’ cubbies so that they know where to put their stuff when they arrive. Use them as name labels by attaching the name tags to desks, notebooks, pencil pouches, or portfolios.
Matching Activity
Create two cards customized for each of your students’ names. Use them to play a name matching game or add them to a sensory table and encourage kids to clip together the matching cards with a clothespin clip.
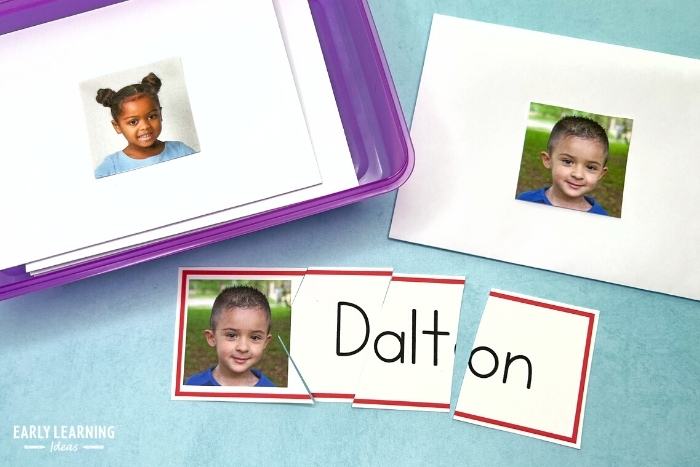
Name Puzzle or Cut and Paste Activity
Cut the cards apart to make a name puzzle for your kids. Ask them to cut it apart and then glue it back together onto a sentence strip for a simple cutting and pasting activity.
Environmental Print Cards
You don’t have to put names on the cards. I like to add a logo instead of a child’s picture to make fun environmental print word cards.
Center Signs
Insert stock photos to make custom center signs. This is a great way to label all the centers around your classroom.
Syllable Clapping
Have kids clap out the syllables in their name as they look at their card.
Graphing Name Lengths
Sort cards by how many letters are in each name, then line them up to make a simple class graph titled “Whose name has the most letters?”
Beginning Sound Sorting Activity
Sort the cards into groups by their first letter or beginning sound.
Name Card Scavenger Hunt
Hide the cards around the room and have kids find their own (or a friend’s) name.
Star of the Week Display
Use one child’s name card as a featured “Star of the Week” spot on a bulletin board or door.
Take-Home Connection
Send a duplicate card home at the start of the year so families can practice name recognition together, or use it as a simple “meet the class” send-home for Back to School Night.
Get The Free Name Cards for Preschool and Kindergarten Today
Are you ready to get started with all these fun name card activities? Fill out the form below, and I’ll send the editable document directly to your inbox. I know you’re in a hurry to start, but be patient. It sometimes takes up to 30 minutes to send them out.

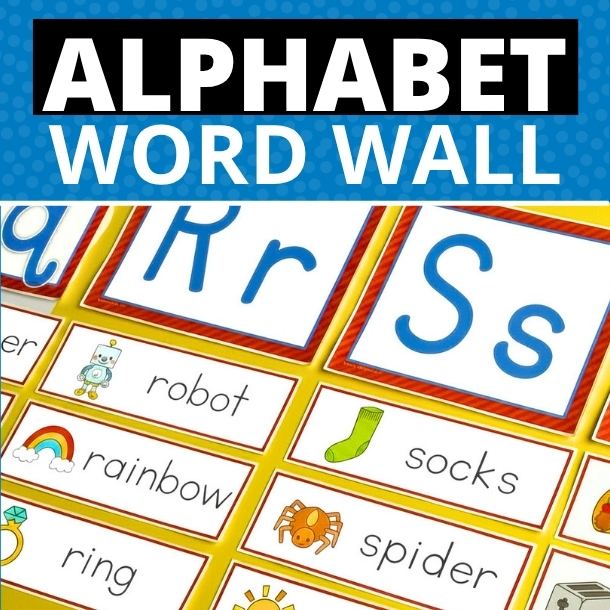
Get the Word Wall Set – On Its Own or as Part of the Full Bundle
Want the complete word wall pictured in this post? You can purchase it on its own, with name cards, letter headers, and 78 illustrated picture word cards. You can also get it as part of the Big Bad ABC Bundle, which includes the word wall set plus letter formation cards, dot marker pages, alphabet crafts, worksheets, and more … everything you need for alphabet instruction from A to Z, all in one purchase. Click either image below to check them out in my store.
Purchase on TPT
Do you prefer to shop at Teachers Pay Teachers? You can also purchase the Word Wall Set in my TPT Store.
