Paper Feathers Craft: Easy Thanksgiving Garland for Kids
Looking for a festive Thanksgiving craft that builds real skills? Make a garland with paper feathers…it checks all the boxes. The craft builds scissor skills, encourages creativity, and transforms into beautiful classroom decor—all with minimal setup.
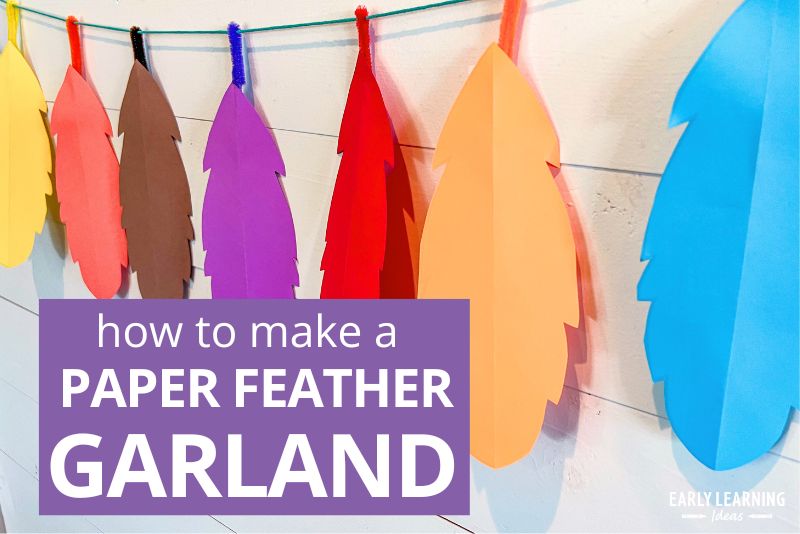
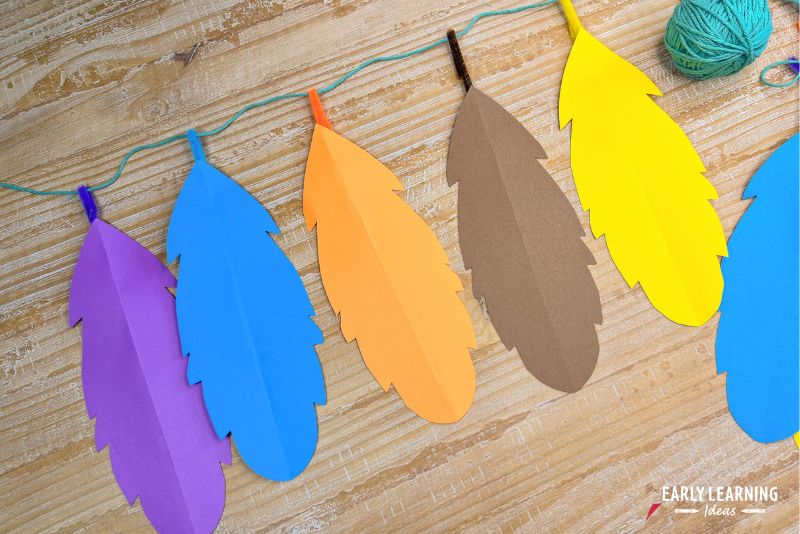
Wanna know the best part? It starts with printable paper feather templates, so you’re not drawing and cutting dozens of feathers by hand. Print, fold, cut, and assemble—it’s pretty easy, and the finished garland looks impressive.
Here’s what makes this Thanksgiving craft special:
- Low-prep. Printable paper feather cut outs mean you’re ready to go in minutes.
- Skill-building. Kids work on bilateral coordination, scissor control, and hand strength.
- Flexible. Use it as a center activity, a whole-class project, a Thanksgiving party craft, or a meaningful gratitude activity.
Let’s dig into how to make paper feathers that actually look impressive—and why preschoolers love this fold-and-cut technique.
Why Fold-n-Cut Feathers Are Great for Preschoolers
Fold-and-cut activities never get old with young kids. When you fold paper in half and cut along printed lines, something magical happens. Kids open up the paper and see a perfectly symmetrical shape. That “reveal” moment? They’re ALWAYS amazed at what they created.
What makes paper turkey feather activities special for skill-building?
- Bilateral coordination. One hand holds the folded paper steady while the other hand cuts. This “two hands working together” skill is essential for so many everyday tasks—from tying shoes to opening containers.
- Scissor practice. Cutting through two layers of paper at once takes more control and hand strength than cutting single sheets. It’s challenging without being frustrating.
- Hand strength. The resistance from cutting folded paper helps build those little hand muscles kids need for writing and other fine motor tasks.
- Creativity. Once the basic feather shape is cut, kids can make it their own by decorating, adding texture, or choosing their favorite colors.
Teacher Tip – Differentiation Option
If kids aren’t quite ready to cut out the whole feather, you can pre-cut some feathers for them and let them focus on snipping the edges for texture. This gives them successful scissor practice without the frustration of cutting the full shape.
Optional Paper Feathers Extensions to Level It Up
Decorate the feathers. Let kids use markers, crayons, dot stickers, or tissue paper to add color and patterns after cutting.
Snip the edges for texture. After opening the feather, kids can make small cuts along the edges to create a feathered texture. This adds another layer of scissor practice—and makes the feathers look even more realistic.
How to Make a Paper Feather Garland
Ready to create your garland? Here’s everything you need and the simple steps to follow.
Materials Needed:
- Printable paper turkey feather template (from my shop—saves you hours of hand-drawing!)
- Scissors
- Pipe cleaners cut in half (in fall colors like orange, yellow, red, brown)
- Yarn, string, or ribbon
- Tape (for attaching pipe cleaners to feathers)
- Markers, crayons, tissue paper, or stickers (optional, for decorating)
Check out my article about picking out the best scissor for young kids of you need help.
Step-by-Step Instructions:
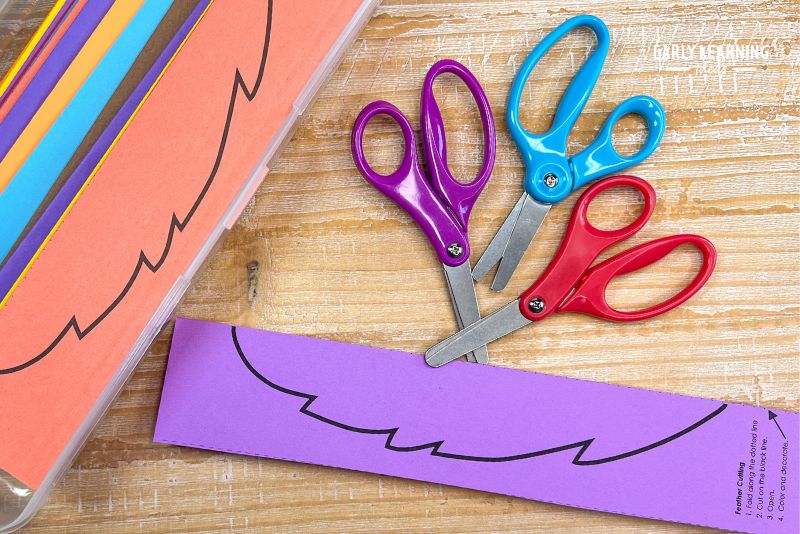
- Print the paper feather template.
Print on regular white paper or paper in a variety of colors. - Prep the feather template by folding them in half.
You can pre-fold them for younger kids, or let older kids practice folding on their own. - Have kids cut along the printed lines to make paper feathers.
Remind them to keep the paper folded while cutting. Some kids will want to open it right away—that’s okay! Let them see what happens, then try again with a fresh sheet.
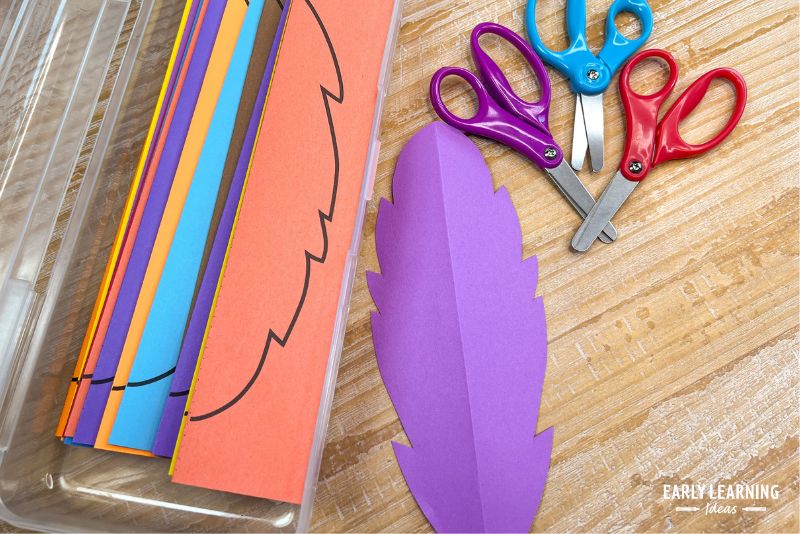
- Open the feather to reveal the symmetrical shape.
This is the moment they’ve been waiting for! Let them admire their work before moving to the next step.
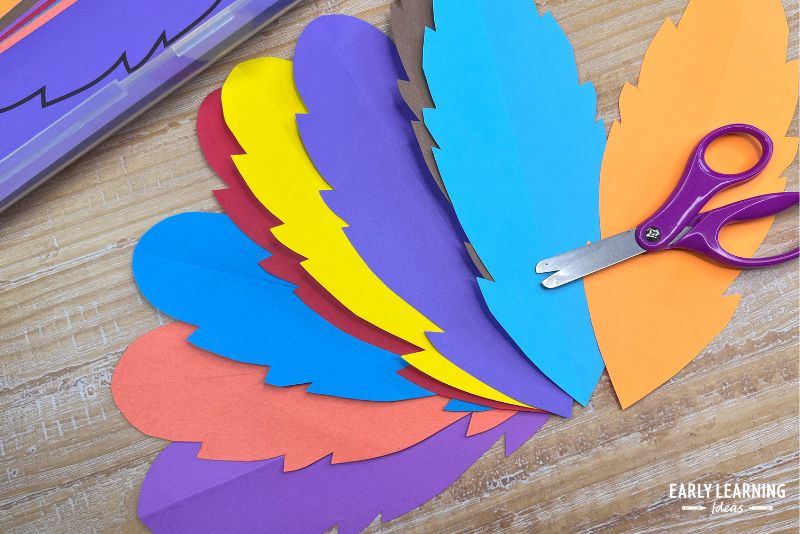
- Optional: Snip along the edges for added texture.
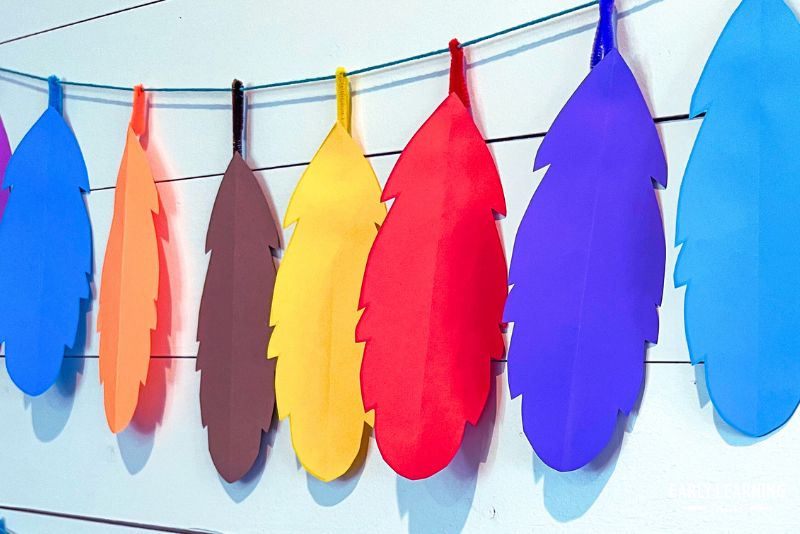
Kids can make small cuts along the outer edges of the feather to create a feathered, realistic look. This step is great for extra scissor practice. - Add pipe cleaner stems.
Tape a pipe cleaner to the back of each feather to create a stem. This is what you’ll use to attach the feathers to your garland. Provide matching pipe cleaners to make a fun color-matching activity.

- Twist the pipe cleaner stems onto yarn or string.
Loop the pipe cleaner around the yarn and twist or pinch to secure. Kids can help with this step—it’s another great fine motor activity.
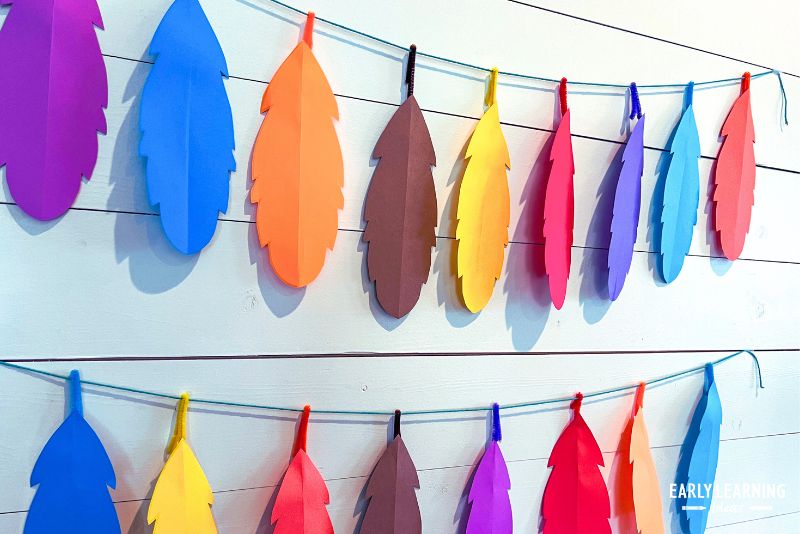
- Hang your paper feather garland!
Drape it across your bulletin board, hang it in the window, stretch it above your reading corner, display it in the hallway, or hang it on your classroom door. Instant festive decor!
Turn It Into a Thankfulness Activity (Or a Party Project!)
This paper feather garland isn’t just a craft—it’s an opportunity to talk about gratitude and build community in your classroom.
Classroom Gratitude Garland:
After kids cut out their paper turkey feather, ask them what they’re thankful for. Write (or have them dictate) their responses on each feather.
- You can build the garland over time: Add a few paper feathers each day during your morning meeting.
- Create a “Gratitude Garland” that grows throughout November.
Use it as a visual reminder of all the things your class appreciates.
Display the finished garland on your classroom door, across your bulletin board, in the hallway, or as a centerpiece in your reading area. Parents love seeing what their child is thankful for, and kids feel proud pointing out their feather.
Thanksgiving Party or Family Connection Idea:
Set up a feather-making station during your classroom Thanksgiving celebration. Kids can:
- Cut and decorate feathers
- Write or draw what they’re thankful for
- Add their feathers to a class garland
You can also send blank paper feather cut outs home with families. Ask parents to help their child write what they’re thankful for, then bring the feathers back to school. String them all together to create a community garland that represents your entire classroom family.
This turns a simple craft into a meaningful activity that connects home and school.
Video Tutorial
If you need some help “seeing” how to put this together, I created a video tutorial for you.
Why Teachers Love This Paper Feather Craft
There’s a reason this paper feather template activity is one of my favorites to share with teachers.
- It combines multiple skills in one activity. Fine motor practice, creative expression, and social-emotional learning all happen at once. You’re not just filling time—you’re building real skills.
- It looks beautiful when displayed. The finished garland adds instant seasonal decor to your classroom. No Pinterest-perfect setup required—it just works.
- It’s extremely low-prep. Print the paper feather template, grab some scissors and yarn, and you’re ready to go. No hunting for specialty supplies or spending an hour prepping materials.
- It’s flexible for any teaching style. Use it as:
- An independent center activity
- A small group project
- A whole-class craft during your Thanksgiving unit
- A party station for classroom celebrations
- A take-home connection activity
- It works for different ability levels. Younger kids can focus on basic cutting and decorating. Older preschoolers and kindergarteners can handle the texture snipping, pipe cleaner twisting, and writing their own thankful messages.
Ready to Make Your Paper Feather Garland?
This printable paper feather cut out activity brings together fine motor skills, gratitude, and seasonal fun—all in one simple, beautiful project. Whether you’re looking for a quick center activity, a meaningful gratitude project, or festive classroom decor, this paper feather garland has you covered. It’s designed with real classrooms in mind—simple to prep, easy to use, and effective for skill-building.
Want to grab the printable paper feather templates and have them ready for next week? You can find them in my shop as part of my November Fine Motor Activity Set or my Fold-n-Cut Activities set.
Let your classroom fill with color, creativity, and thankfulness—one feather at a time!
featured product
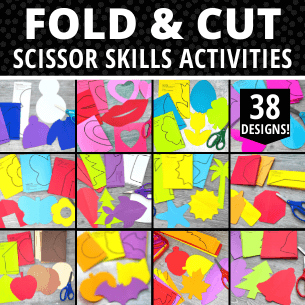
Fold-n-cut activities for the whole year
Get 38 fold and cut activities to use throughout the year for cutting practice.

featured product
November Fine Motor Activity Set
Get 7 different fine motor activities for Thanksgiving and the month of November.


