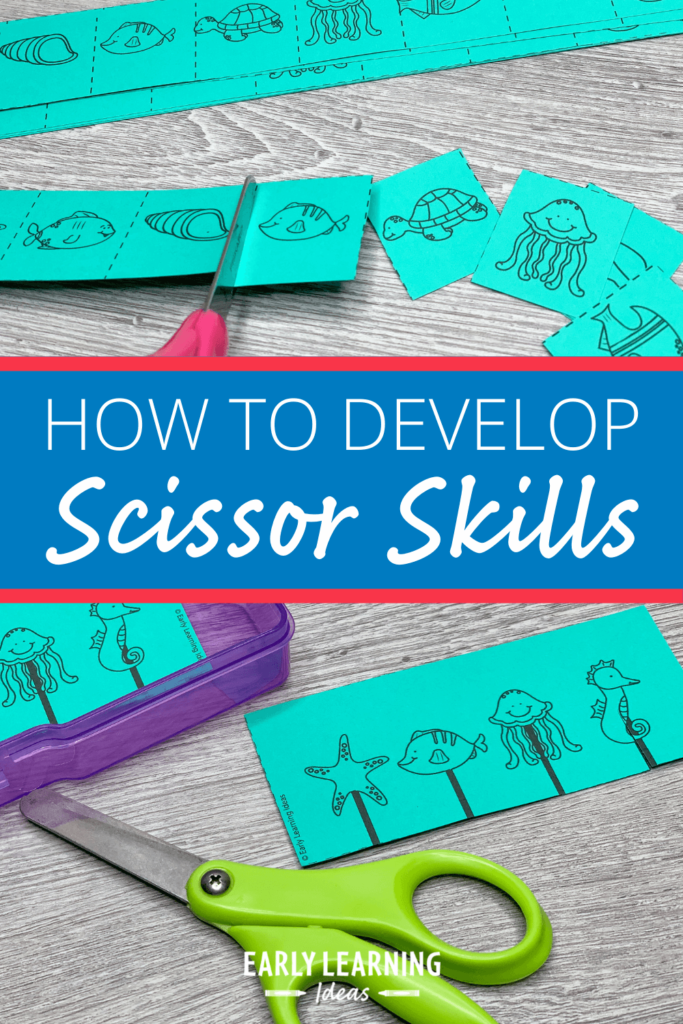
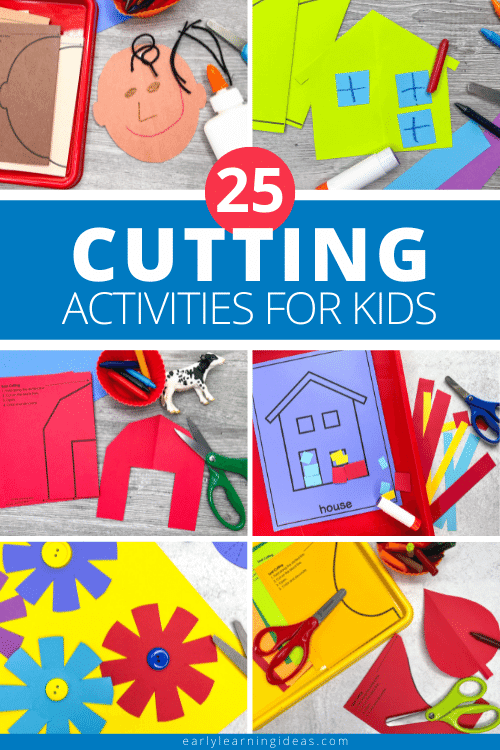
The Cutting Confidence Ladder: A Simple Guide to Teaching Scissor Skills in Preschool
I bet you’ve seen it.
A child picks up scissors, holds them at an awkward angle, and starts twisting the paper instead of cutting it.
They get frustrated, the paper crumples, the scissors won’t cooperate….and pretty soon, they’re avoiding the cutting activities altogether.

If you’ve been teaching preschool for any length of time, you’ve probably noticed that more kids are entering your classroom with weaker fine motor skills than in years past, and this includes scissor skills.
It’s not their fault—and it’s not yours. But it does mean we need a clear, simple roadmap to help kids build these skills step by step.
That’s where the Cutting Confidence Ladder comes in.
It’s a developmentally appropriate progression that takes kids from tearing paper all the way to cutting complex shapes—without overwhelm, without frustration…and with plenty of success along the way.
You’ll have a clear sequence to support scissor skills in your classroom, no matter where your kids are starting from.
Let’s take a look at this simple guide to teaching scissor skills.
Why Scissor Skills Matter
Before we get into the ladder, let’s talk about why scissor skills are so important in the first place.
Learning to use scissors isn’t just about cutting paper. It’s about building a whole range of skills that kids will use throughout their lives.
Fine motor strength and control. Using scissors strengthens the small muscles in the hands and fingers—the same muscles kids need for writing, buttoning, zipping, and so many other tasks.
Bilateral coordination
Cutting requires both hands to work together. One hand opens and closes the scissors while the other hand holds and guides the paper. This “two hands doing different jobs” skill is essential for everything from tying shoes to opening containers.
Hand-eye coordination and planning
Kids have to watch where the scissors are going, plan their cutting path, and adjust their movements as they go. That takes focus, visual tracking, and the ability to coordinate what their eyes see with what their hands do. Hand-eye coordination skills show up everywhere—from catching a ball to writing their name to pouring juice without spilling.
Self-help skills
The same hand strength and coordination kids build with scissors? That’s what helps them zip their coats, button their shirts, and open their snack containers independently.

Confidence and independence
When kids can use scissors successfully, they feel capable. They’re proud of what they can do. And that confidence carries over into other areas of learning.
Teachers everywhere are noticing that kids are entering preschool with weaker fine motor skills overall. Less time for unstructured play, more screen time, fewer hands-on experiences—it all adds up. And when fine motor skills are weaker, scissor skills are weaker too.
Many kids struggle with scissors, but most of the time, they just need more time and more practice. Our job is to meet them there and give them the practice that matches their current skill level.
That’s exactly what the Cutting Confidence Ladder does.
The Cutting Confidence Ladder
Here’s the framework. It’s four simple steps that build on each other, from easiest to most complex:
The Cutting Confidence Ladder
1. Rip:
Tearing paper with their hands
2. Snip:
Making single, quick cuts—one snip at a time.
3. Lines:
Cutting along straight, curved, and zigzag lines
4. Shapes
Cutting shapes with increasing complexity
Now let’s break down each step.
Step 1: Rip

What it is: Tearing paper with their hands—no scissors required.
Why it matters: Tearing paper builds hand strength and bilateral coordination. It’s the warm-up for scissor skills. When kids tear paper, they’re strengthening the same muscles they’ll need to open and close scissors. They’re also practicing using both hands together—one hand holds, one hand tears.
Examples of tearing activities:
- Tearing strips of construction paper into small pieces
- Tearing tissue paper for collages
- Tearing scrap paper to fill a sensory bin
- Tearing paper to glue onto a printed image (torn paper art)
Tips for success:
- Use different paper textures—construction paper, tissue paper, newspaper, scrap paper
- Pre-cut paper into strips to make tearing easier for beginners
- Let kids tear freely
Teacher Tip
Tearing is the warm-up for scissor skills. Don’t skip this step, especially for kids who are just starting out. It’s calming, it’s sensory-rich, and it builds real strength.
Step 2: Snip

What it is: Making single, quick cuts—one snip at a time. Kids might snip along a line or just snip freely, but the key is that it’s a single cut, not moving the scissors continuously along a path.
Why it matters: Snipping teaches the fundamental scissor motion without requiring kids to guide the scissors for an extended cut. It’s all about mastering that open–shut, open–shut rhythm.
Examples of snipping activities:
- Snipping the edges of paper to make fringe
- Snipping along lines on snip strips (single cuts, not continuous cutting)
- Snipping thin paper strips into small pieces
- Snipping playdough snakes
- Snipping fresh herbs (basil, parsley) for a sensory activity
- Snipping straws or yarn
Tips for success:
- Use snip strips—printable pages with lines where kids make single snips (these are perfect for beginners!)
- Offer narrow strips of paper (about 1-2 inches wide) for free snipping
- Celebrate every snip—this is a big milestone!
Troubleshooting: If kids are twisting the paper instead of cutting it, they might not be ready for scissors yet. Go back to tearing activities to build more hand strength first.
Teacher Tip
Snipping is where kids learn the rhythm of scissors. Open, close. Open, close. Once they’ve got that motion down, they’re ready to move forward.
Step 3: Lines

What it is: Cutting along lines—starting with straight lines, then moving to curved lines and zigzags.
Why it matters: Line cutting builds control. Kids learn to move the scissors AND guide the paper at the same time. This is where bilateral coordination really kicks in.
Examples of line-cutting activities:
- Cutting along thick, straight lines on paper
- Cutting paths or mazes
- Cutting wavy or curved lines
- Cutting zigzag lines
- Tracing a line with their finger first, then cutting it
Tips for success:
- Start with shorter paths (2-3 inches), then gradually increase length
- Remind kids: “Your scissors open and shut—your other hand holds the paper.”
Progression within this step:
- Straight lines (easiest)
- Gently curved lines
- Zigzag or wavy lines (most challenging)
Teacher Tip
If kids are struggling, make sure they’re moving the paper, not just the scissors. The paper should turn and shift as they cut. It’s a two-handed job.
Step 4: Shapes

What it is: Cutting out shapes—starting with simple shapes that have minimal turns, then progressing to shapes with multiple turns or tight curves.
Why it matters: Cutting shapes requires planning, sustained control, and the ability to turn the paper while keeping the scissors moving. It’s the most complex cutting task for preschoolers.
Examples of shape-cutting activities:
- Cutting simple circles or ovals
- Cutting squares or rectangles
- Cutting hearts, stars, or other shapes with more turns
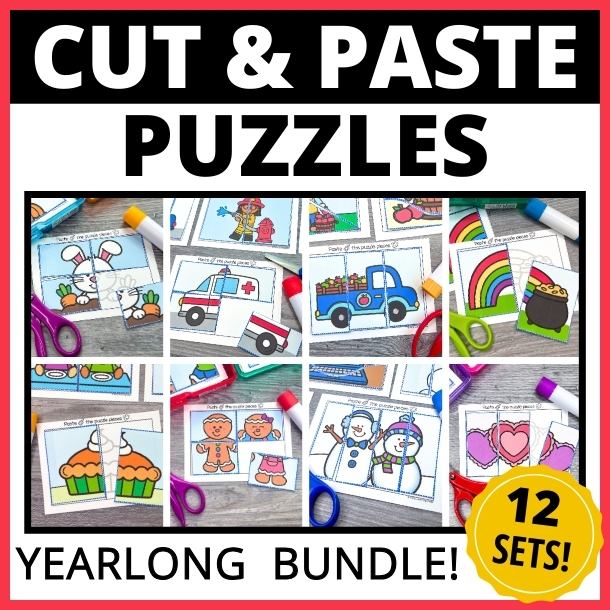
- Cutting out craft pieces or puzzle shapes
Tips for success:
- Start with bigger shapes (3-4 inches)
- Gradually shrink the size as kids gain confidence
- Use shapes with rounded corners before introducing sharp corners
Progression within this step:
- Simple shapes with gentle curves (circles, ovals)
- Shapes with a few turning points (hearts)
- Shapes with multiple turns or tight curves (detailed outlines)
Troubleshooting: If frustration rises, go back to line cutting for a while. Mastery takes time, and that’s okay.
Teacher Tip
Not every preschooler will reach this step—and that’s completely normal. Some kids will spend most of the year on snipping and lines. Meet them where they are.
How to Know When Kids Are Ready to Move Up the Ladder

One of the most common questions I hear from teachers: “How do I know when my kids are ready for the next step?”
Here’s what to look for at each stage:
Ready to move from Rip to Snip:
- Can tear paper with control
- Uses both hands together (one holds, one tears)
- Shows interest in scissors
Ready to move from Snip to Lines:
- Can make multiple snips in a row
- Holds scissors correctly (thumb up)
- Can open and close scissors smoothly
Ready to move from Lines to Shapes:
- Can cut along a straight line with reasonable accuracy
- Can cut along a curved line without veering off too much
- Can turn the paper while cutting
Signs to stay where they are:
- Frustration or avoidance
- Twisting the paper instead of cutting
- Difficulty with the open-close motion
- Can’t maintain the cutting motion for more than a few seconds
Here’s the important part: every child moves through the ladder at their own pace. Some kids will zoom through all four steps in a few months. Others will spend the entire preschool year working on snipping and lines. Both are perfectly normal.
Your job isn’t to rush them up the ladder. Your job is to observe, support, and give them the right kind of practice at the right time.
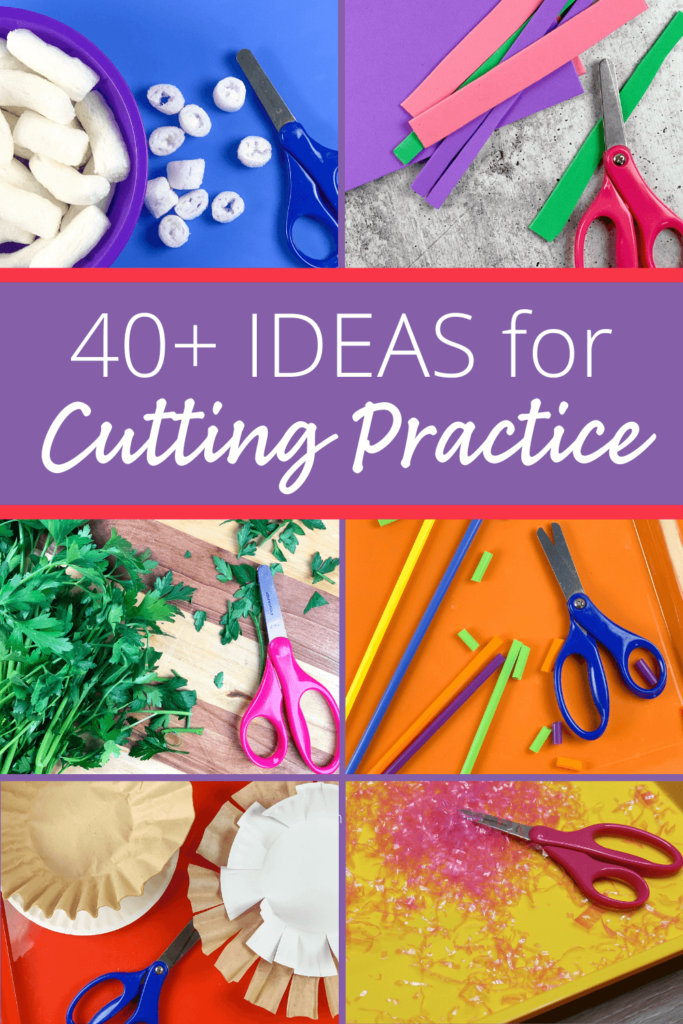
Extra Tips for Cutting Success
Want to help your kids build cutting confidence even faster? Here are some tried-and-true strategies that work:
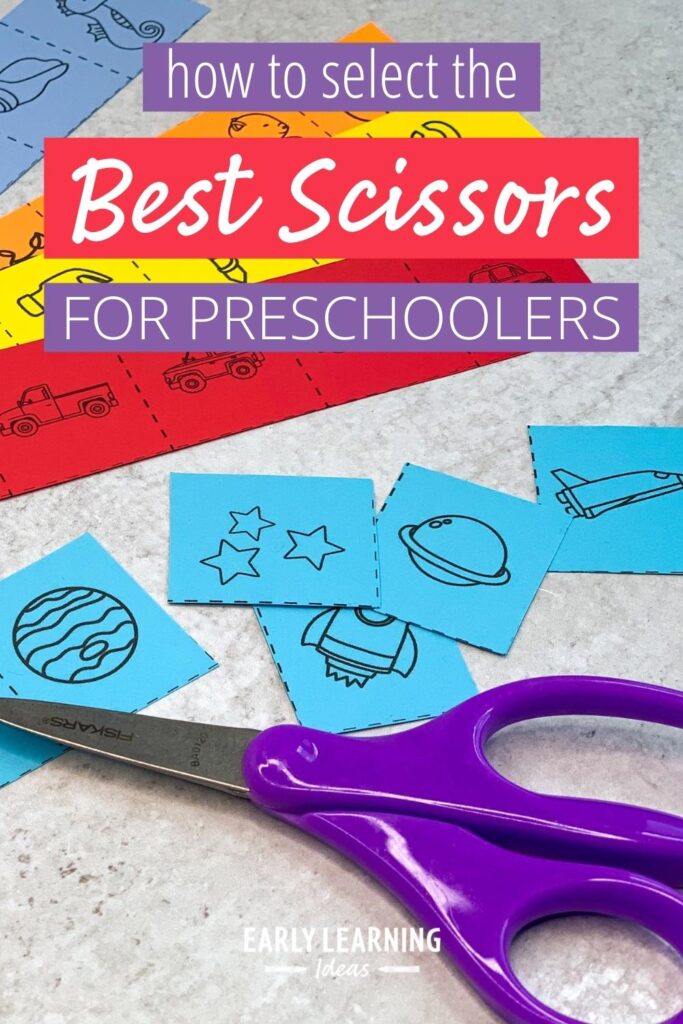
Thumb-up cue: Teach kids to hold scissors with their thumb on top. You can even put a small sticker on their thumbnail as a visual reminder.
Elbows in: Remind kids to keep their elbows close to their body while cutting. This gives them more control and stability.
Paper hand technique: Teach kids to use their non-cutting hand to hold and guide the paper. The paper moves, not just the scissors.
- Spring-loaded scissors can help beginners learn the open-close motion
- Loop scissors are great for kids who struggle with finger placement
- Don’t forget left-handed scissors for lefties!
Environmental cutting opportunities: Scissors aren’t just for the art table. Try:
- Cutting playdough at the playdough station
- Snipping herbs in the sensory table
- Cutting leaves or flower stems outdoors
- Snipping straws or yarn in a fine motor bin
Fun cutting materials: Mix it up with different materials to keep kids engaged:
- Tissue paper (easy to cut)
- Cardstock (builds strength)
- Aluminum foil (different texture)
- Ribbon or yarn
- Fresh herbs (smells amazing!)
Safety reminders:
- Scissors are for cutting paper and approved materials only
- Walking scissors stay closed
- We don’t cut our hair, clothes, or friends
Related Activities & Resources
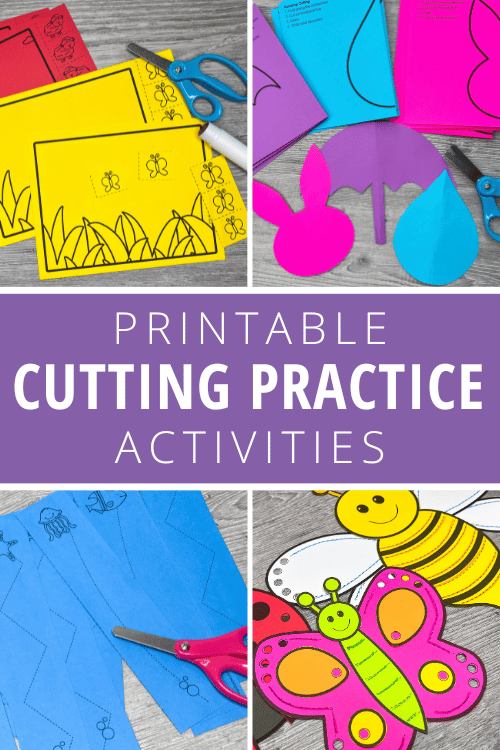
Ready to put the Cutting Confidence Ladder into action? Here are some resources that align perfectly with each step:
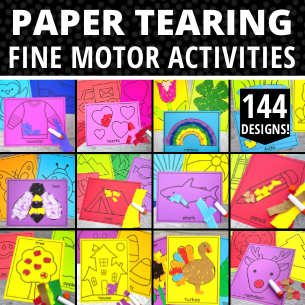
Activities For Rip (Step 1):
Torn paper art activities, paper-tearing crafts, collage projects

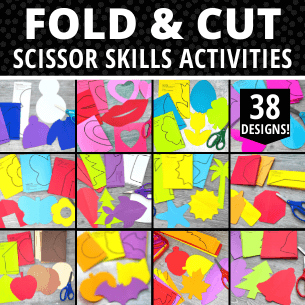
Activities For Snip (Step 2):
Snip strips, snipping activities, fringe crafts, playdough cutting stations

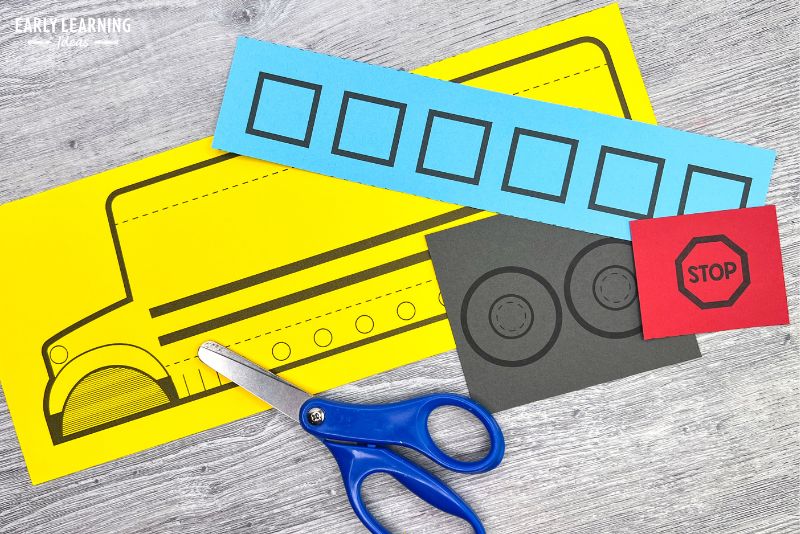
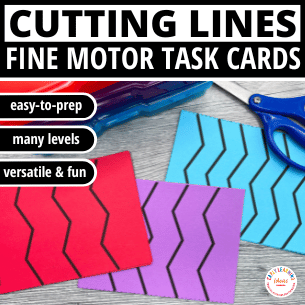
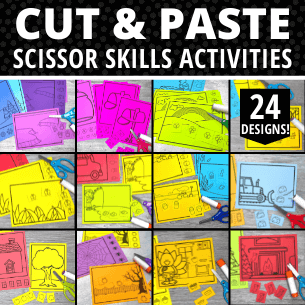
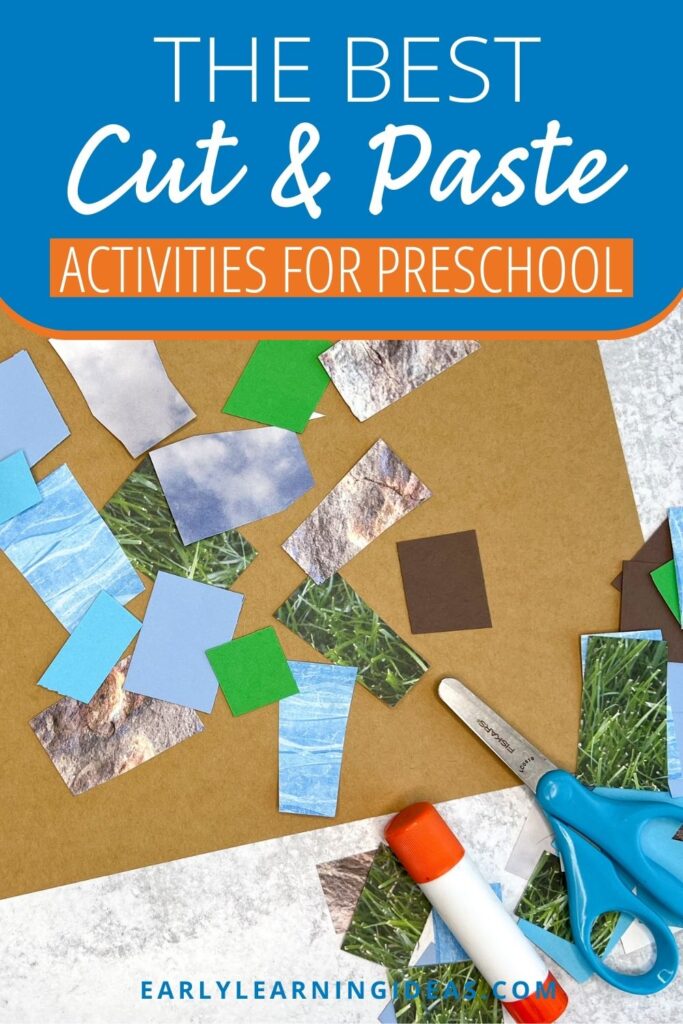
Activities For Lines (Step 3):
To work on line cutting practice, use printables with straight, curved, and zigzag lines. Simple cut and paste activities are great for straight-line cutting practice, while fold-n-cut activities provide practice with a variety of different lines.

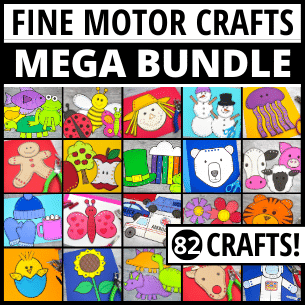
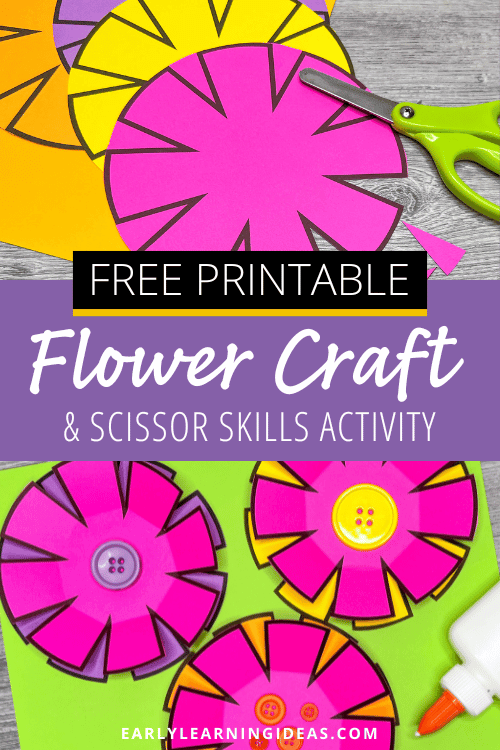
Activities For Cutting Shapes (Step 4):
Are your kids ready to cut shapes? Try out Printable fine motor crafts, seasonal cutting activities, and name crafts are a great way to give kids practice.
Ready to Build Cutting Confidence in Your Classroom?
The Cutting Confidence Ladder simplifies scissor-skill development. Instead of wondering if your kids are “ready” for scissors or feeling frustrated when they struggle, you have a clear roadmap.
Start where your kids are. Give them the right kind of practice. Celebrate progress at every step.
Some kids will move quickly through the ladder. Others will take their time. And that’s exactly how it should be.
Want more fine motor activities and cutting resources?
Check out my shop for printables designed with this progression in mind. Every activity is crafted to meet kids where they are and help them build real skills.
Purchase Cutting Practice Printables on TPT
Do you prefer to purchase printables on Teachers Pay Teachers? You can also get my cutting practice printables in my TPT store.


